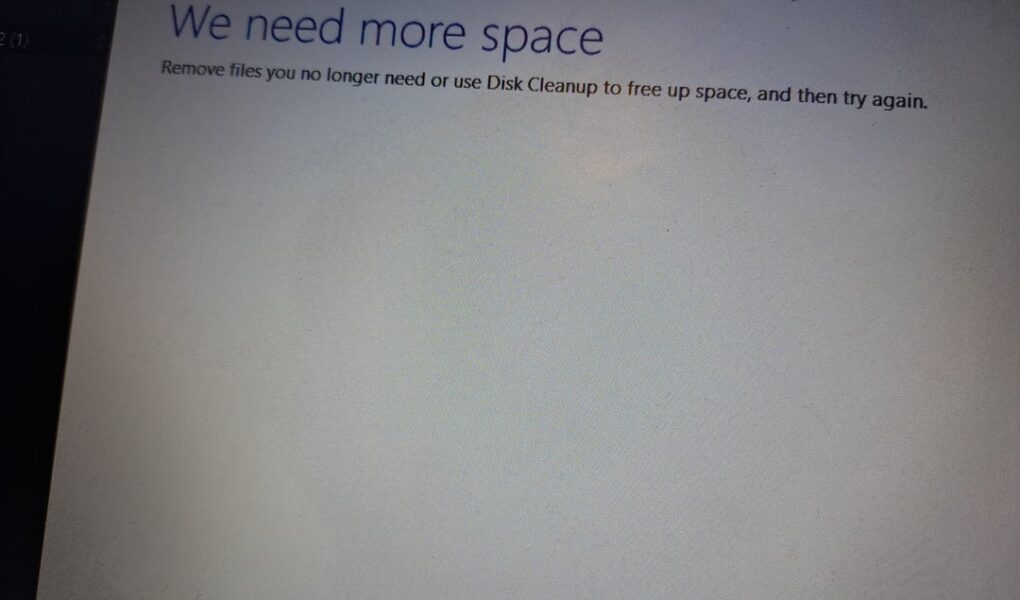
Transforming your computing experience with the slick interface and powerful features of Windows 11 is exciting. But the journey can be hampered by the dreaded “We Need More Space” error when attempting a USB drive installation. Fear not, tech warrior! This comprehensive guide equips you with the knowledge and tools to vanquish this foe and achieve a smooth Windows 11 installation on your trusty USB drive.
“We Need More Space” Error: Your Guide to Installing Windows 11 on a USB Drive
Step 1: Choose Your Weapon Wisely – The Art of the USB Stick
Not all USB sticks are created equal. Ditch the flimsy gas station variety and invest in a reputable brand like Kingston, Sandisk, or Samsung. These bastions of reliability ensure ample storage and unwavering performance during the installation process. Remember, skimping on quality can lead to compatibility woes and wasted time.
Step 2: Formatting Frenzy – Unleashing the ExFAT Beast
The “We Need More Space” error often boils down to the limitations of the FAT32 formatting, which struggles with larger files. Enter the valiant exFAT format, your key to overcoming this obstacle. ExFAT’s spacious embrace allows for larger files, paving the way for a successful Windows 11 installation.
Step 3: Enter Rufus, the Bootable USB Stick Champion
Rufus is your knight in shining armor when it comes to crafting bootable USB drives. This free and user-friendly tool simplifies the process, ensuring your USB drive is formatted correctly and equipped to handle the Windows 11 installation with precision. No more cryptic commands or frustrating trial-and-error!
Step 4: A Rufus Ritual – Crafting Your Bootable Drive
- Download and install Rufus from the official website.
- Insert your valiant USB stick.
- Open Rufus and select your USB drive from the dropdown menu.
- Under “Boot selection,” choose the Windows 11 ISO file.
- Adjust any additional settings as needed (e.g., partition scheme, target system).
- Click “Start” and watch Rufus work its magic.
With each click, Rufus imbues your USB drive with the power to boot and install Windows 11. Sit back and relax as the tool works its wonders.
Bonus Tip: Quality Matters – Invest in a Trustworthy USB Stick
Remember, in the tech world, you often get what you pay for. Opt for a reputable brand to ensure reliability and avoid compatibility demons. Counterfeit USB sticks can lead to frustration and wasted time. Invest in quality, and your USB drive will become a trusty companion for future installations and software adventures.
Troubleshooting Tips: When the Installation Gods Turn Grumpy
- Verify your USB stick’s authenticity: Double-check the manufacturer’s website to confirm its legitimacy and capacity.
- Try a different brand: If one stick throws a tantrum, give another a go. Sometimes, a brand switch can solve the problem.
- Double-check storage capacity: Human error happens. Ensure your chosen USB stick actually has the advertised storage space.
Conquering the Challenge: Embrace a Smooth Windows 11 Installation
With careful preparation, the right tools, and a dash of troubleshooting know-how, installing Windows 11 on a USB drive can be a smooth and rewarding experience. So, banish the “We Need More Space” error, unleash the power of Windows 11 on your portable drive, and enjoy the flexibility and convenience of computing on the go!
Remember, the key to success lies in choosing the right USB stick, wielding the formatting magic of exFAT, and letting Rufus work its wizardry. With these steps, your Windows 11 installation journey will be paved with success, free from errors and frustrations. Now go forth and conquer the digital world with your portable Windows 11 powerhouse!


