The Windows 11 landscape can be a minefield of entangled accounts and cryptic error messages. One particularly treacherous enemy: the “Cannot Delete Account” enigma, holding your email hostage and forcing it to mingle with unwanted apps. But fear not, digital soldier! This field manual equips you with the tactical knowledge and strategic maneuvers to liberate your email and reclaim your online freedom.
Removing Email from Accounts Used by Other Apps on Windows 11
Intelligence Gathering: Identify the Enemy
Before launching your assault, pinpoint your foe’s origin. Is your email a native resident, confined to your device like a local warlord, or a global citizen of the Microsoft empire? This distinction dictates your liberation strategy.
Local Account? Deploy the Isolation Tactic
If your email is a local warlord, we have the Isolation Tactic. This operation cuts off your email from the outside world, effectively severing its ties to any pesky apps.
Executing the Isolation Maneuver:
- Establish Headquarters: Infiltrate the Settings app and locate the “Accounts” sector.
- Secure Your Base: Select “Other users” and click “Add user.” Choose “Local account” and forge a new identity for your email.
- Migrate Data: Transfer your files and settings to the newly created local account.
- Sever the Cables: Return to “Other users” and click “Remove” on your old account. This severs the ties to any apps, granting your email absolute independence.
Microsoft Account? Unleash the Local Account Gambit
If your email is a Microsoft citizen, we have the Local Account Gambit. This operation infiltrates the Microsoft stronghold and replaces your email with a local agent, granting you autonomy within the Windows 11 realm.
Executing the Gambit:
- Infiltrate Headquarters: Launch the Settings app and navigate to the “Accounts” sector.
- Locate the Target: Select “Your info” and click “Sign in with a local account instead.”
- Forge a New Identity: Follow the on-screen prompts to establish a local account, leaving your Microsoft identity behind.
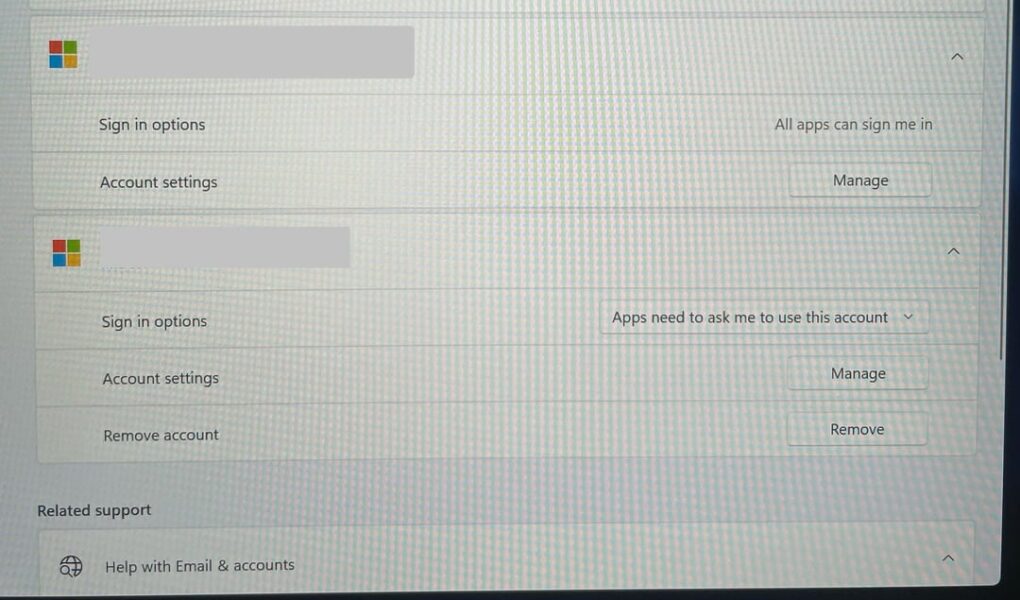
- Sever the Digital Tether: Return to “Accounts,” then “Email & accounts.” Locate your former Microsoft account and click “Remove.”
Victory Declared!
With this maneuver, your email is free from the appy shackles. You’ve conquered the “Cannot Delete” enigma and emerged victorious, a true emancipator in the digital realm.
Beyond the Battlefield:
This manual is not just a personal victory, but a beacon of hope for all Windows 11 warriors facing the same challenge. Share this knowledge, spread the tactics, and let’s collectively banish the “Cannot Delete” message to the digital abyss.
Remember:
- This guide focuses on Microsoft accounts. Local accounts require different tactics.
- Back up your data before embarking on any account migrations.
- If the enemy proves too formidable, seek reinforcements from the Microsoft support troops.
With these final words, we raise our digital banners high, forever champions of user empowerment in the ever-evolving realm of Windows 11!


