

Have you ever looked at a brand-new VR headset like the HTC Vive, Oculus Rift, or Valve Index and wondered if your PC could really handle it without becoming a stuttering nightmare? I’ve been there too; I’ve spent too much money and then regretted it. That’s why Futuremark VRMark has become my secret weapon. It doesn’t just give you numbers; it shows you if your rig has the real power that VR needs, which is much more than what regular games need.
Contents
You Don’t Even Need a Headset to Get Real Answers
People are still amazed by this: you can run the core tests without having to plug in any VR gear. Futuremark VRMark simulates those tough VR workloads right on your desktop and finds problems like frame-time spikes and uneven performance that a quick game demo might not show. I’ve caught bad graphics drivers and unstable overclocks this way many times before they could ruin a real session.
VRMark at a Glance
The tool was first released by Futuremark, but UL Solutions now runs it. In November 2016, it was first released, and it will be fully supported until at least March 2026. It works on Windows 10 and 11, is easy to get from Steam or the official UL site, and only takes up about 5 GB of space on your hard drive. Easy.
Three Virtual Rooms That Really Put Your Hardware to the Test
Futuremark VRMark puts your system in different “rooms,” each one making it hotter:
- – **Orange Room** is your baseline — the realistic check for today’s typical headsets. If this one struggles, seriously think twice before buying.
- – **Cyan Room** adds extra detail and complexity. Great for mid-to-high-end builds that want to show off.
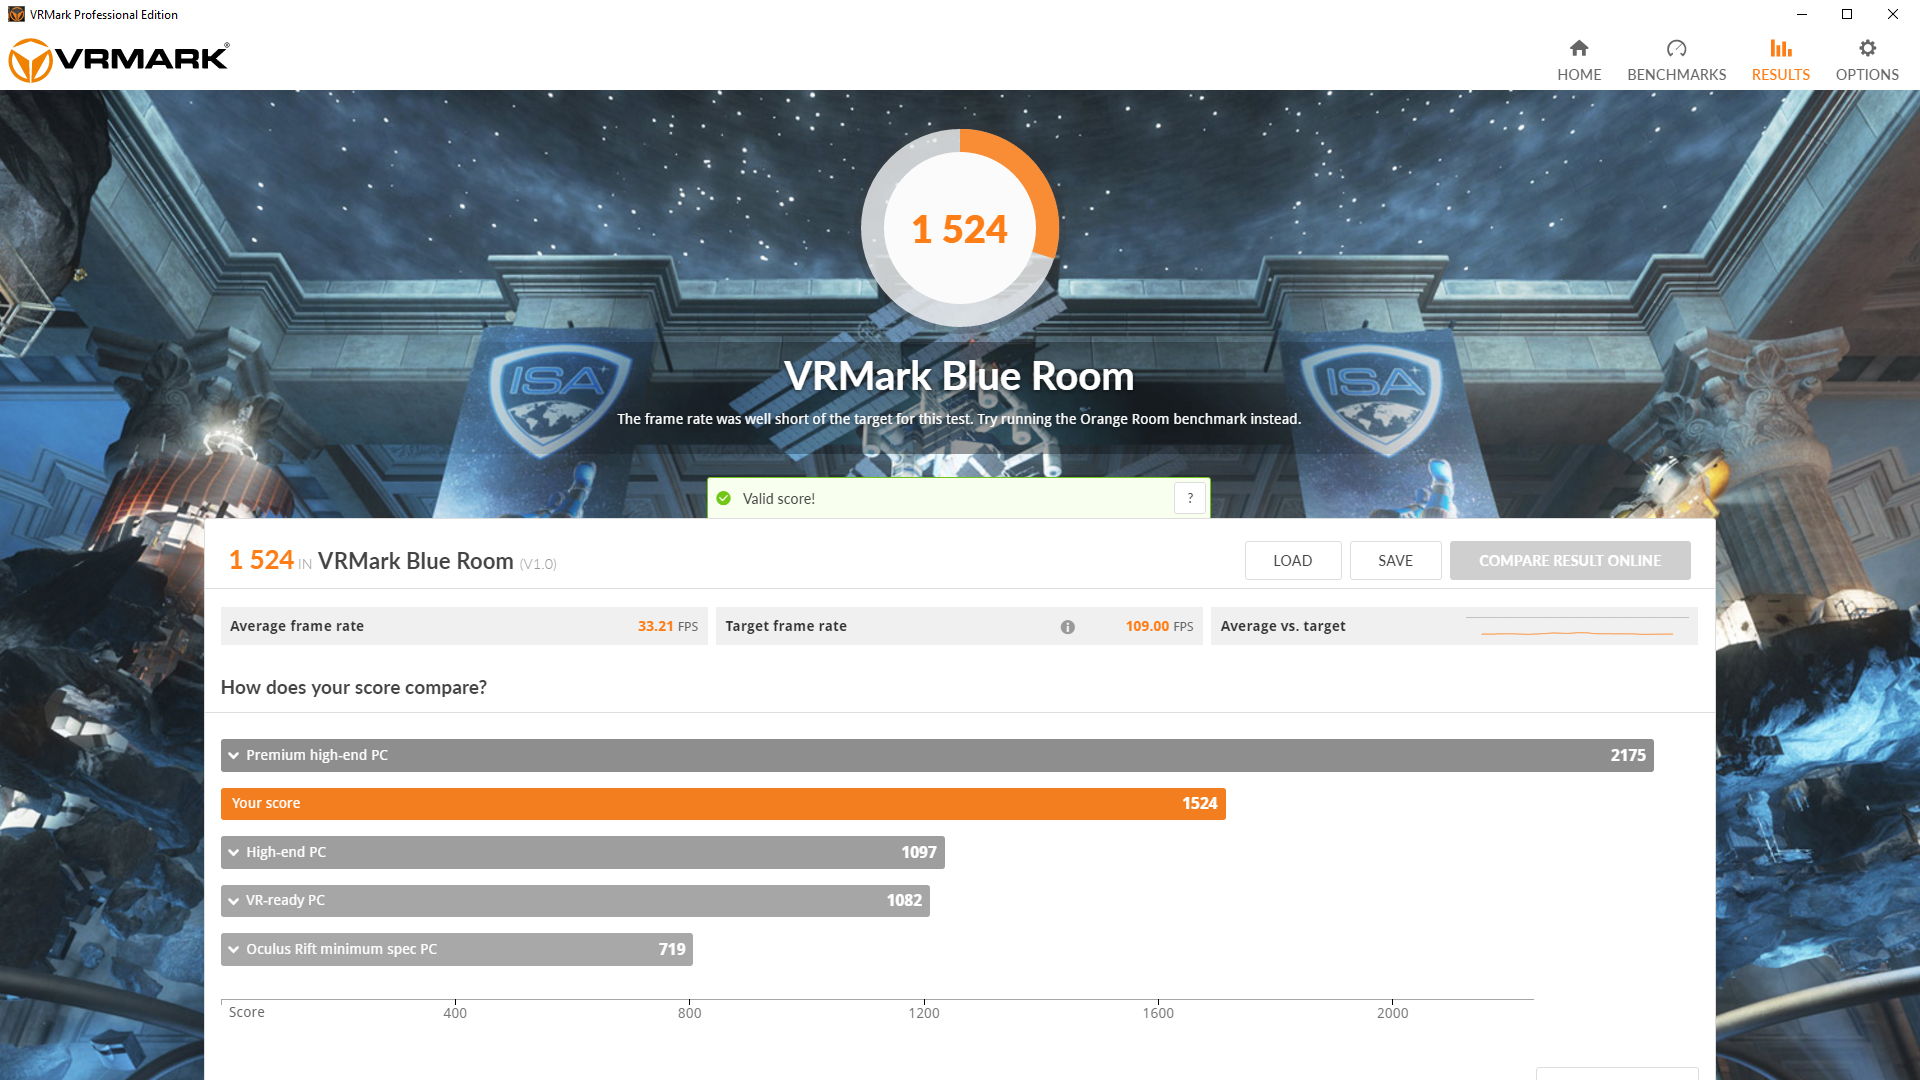
- – **Blue Room** goes full 5K madness. Only the strongest rigs survive without breaking a sweat.
These rooms focus on the most important things, like how well your CPU and GPU can handle VR’s crazy frame-rate requirements. It’s possible that the average FPS looks good on paper. But what about those shaky frame rates? That’s what makes you sick in real life.
How to Run It in Five Minutes Flat
Ready to try? Grab it from Steam or the UL site, then:
- Fire up the Orange Room first and watch the frame-time graph like a hawk.
- If it feels smooth, step up to Cyan or Blue depending on the headset you’re eyeing.
While you’re at it, quick PowerShell check for your graphics card:
`Get-CimInstance Win32_VideoController | Select-Object Name, AdapterRAM`What the Numbers Are Really Telling You
One thing worth knowing: some drivers get specially tweaked just to shine in benchmarks like this. Big flashy scores look great in marketing, but I always dig into the graphs instead. Consistent delivery beats a high average every single time.
And get this — in real VR games, a solid CPU paired with a decent GPU sometimes feels way smoother than a monster graphics card carrying a weaker processor. Complex scenes can choke the CPU hard and drag everything down, no matter how fancy your card is.
Quick Tips That Make a Real Difference
- A few things I always do before hitting run:
Update GPU drivers fresh. - Kill every background app — VR hates interruptions.
- Compare your results only with similar setups in UL’s database (same OS and driver versions matter).
Oh, and one surprise I learned the hard way: dropping graphics settings just a notch often fixes stuttering better than overclocking your GPU by 10%. Steady pace wins. Always.
Bottom Line Before You Buy
Futuremark VRMark gives you a great idea of what’s possible, but it’s not the whole story for every game. Developers should always try out their own work. But for the rest of us, that clean Orange Room pass is usually right. Run the benchmark, and if you can, try to show off the real game on the headset. That combination is still the best way to avoid buyer’s remorse.